
How I made an autoplunger and manual shooter combo for my Pin2000
First, let me say why I did this - I'm lazy! I bought a NIB SWE1 and was fortunate enough to purchase a NOS wired RFM playfield. Now, swapping games in a P2K cabinet was easy enough, but I wanted to make the process even faster. The first step was to get another PRISM card and daughter board. With this accomplished, the only thing remaining was to figure out how to simplify the swapping of RFM's fire button and SWE1's manual plunger. Then the idea hit me ... combine them!
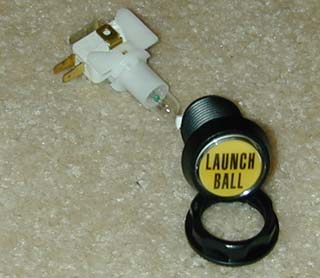
Now the large LAUNCH BALL button wasn't going to work with the combo, go I got an Extra Ball buy-in button. I removed the lettering inside the button and printed new lettering on some transparencies. The transparency is sandwiched between the clear front and the yellow plastic. It looks 'stock.' I ended up with the following -
Next step was to modify the shooter housing. I drilled a hole for the new button in the housing and milled out the metal on the back for clearance.
The cabinet was only cut out for the standard shooter. With this new button in place, I had to slightly modify my cabinet. With the use of a RotoZip tool, this was effortless.
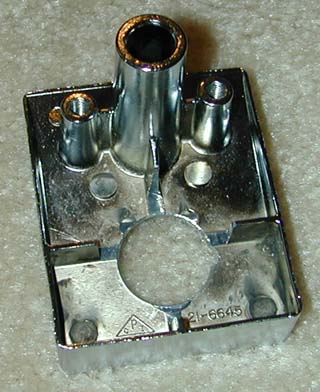
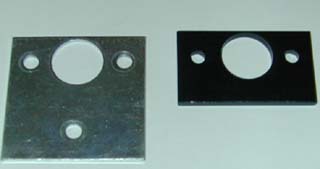
Also, the existing backing plate for the housing had to be remade to clear the new button. I thought the old plate was too thin for the purpose, so a beefier version was made from thicker stock. The original plate is on the left.
The mounting of the new shooter combo fits perfectly.

Right about now, you're probably thinking to yourself, "That manual plunger isn't gonna clear the autoplunger in RFM!" Well, you're right. So I got rid of the original RFM autoplunger. I already had another game that featured a manual shooter and autoplunger combo - Scared Stiff! So taking a cue from the design of that game, I purchased a SS autoplunger assembly and fit that under the RFM playfield.
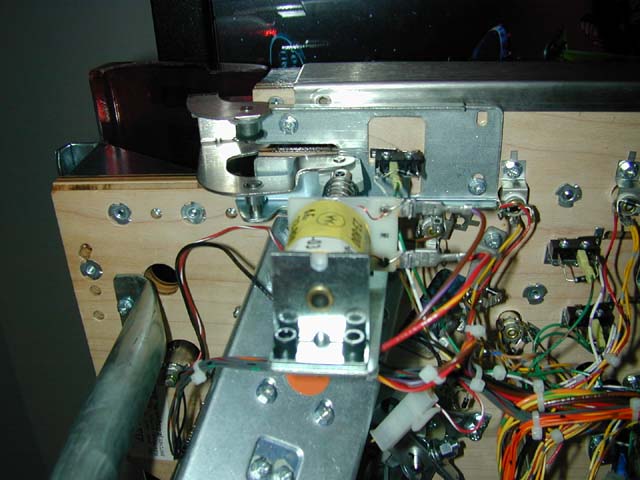
There was some minor disassembly required for this. The right metal rail had to be removed so I could remove the stud and nut that were interfering with the mounting of the autoplunger. The coil is exactly the same as the original shooter.
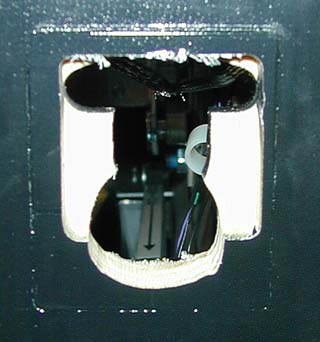
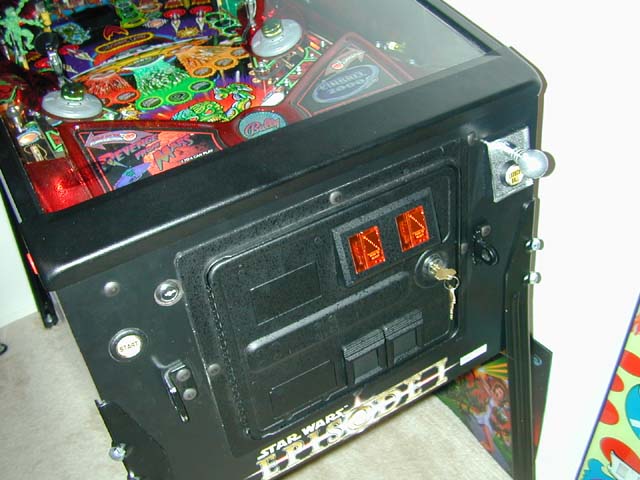
Here's the finished product -
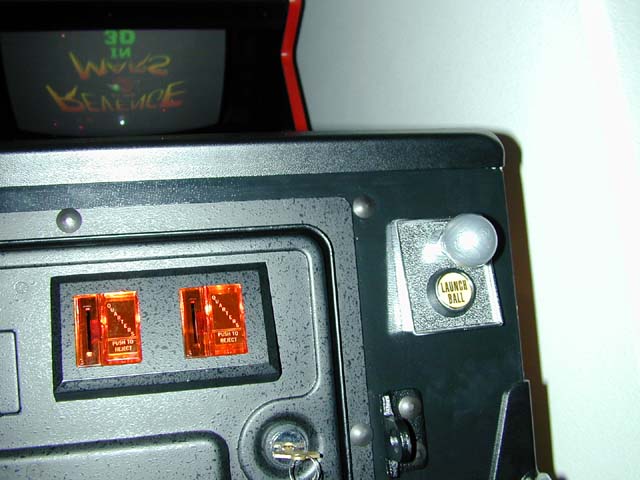
And here's a closer look -
I can now fully swap games in under 2 minutes! Mission accomplished!