|
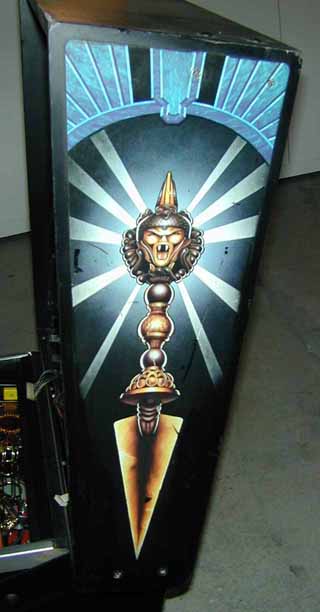
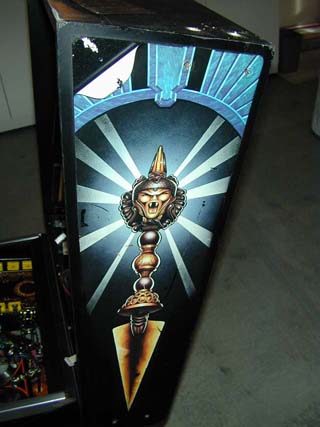
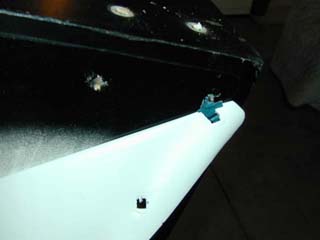
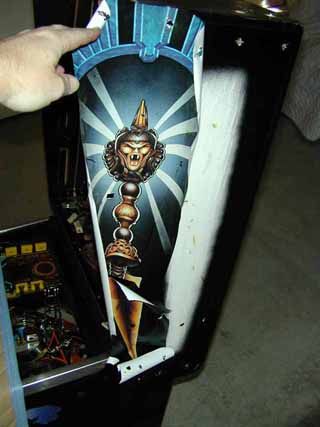
My Shadow backbox had seen better days. The decals had been severely scratched and the previous owner had touched it up by spraying large areas with black paint. Thanks to Phil over at Pinball Heaven, a high quality reproduction replacement was available. This page outlines how I replaced them The first thing required was to remove all of the bolts that went into the side of the backbox. On Shadow, there are 4 on the right and 8 on the left. The translite and its lighting panel were both removed.
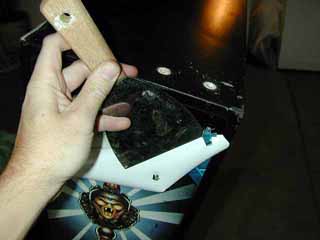
Start by peeling back a corner. I just did this by hand. Go slowly and try to keep the decal in one piece.
If is starts tearing around a hole, continue *just* past the hole then stop.
Using a putty knife, peel back the decal at the bottom of the hole until it meets the main part of the decal.
It should now continue coming off in one piece. Peel until you reach the opposite corner.
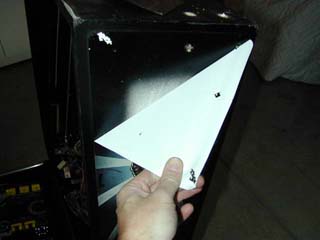
Peel the right side down until you start peeling vertically. Keep your hands as close to the backbox as possible when peeling. You should have one hand on the left and one hand on the right as you are peeling. (I had to use one hand here to take the picture)
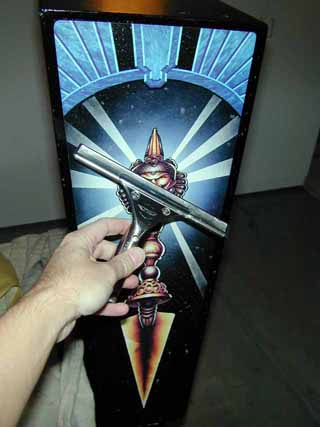
The decal is almost off.
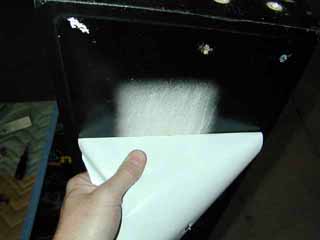
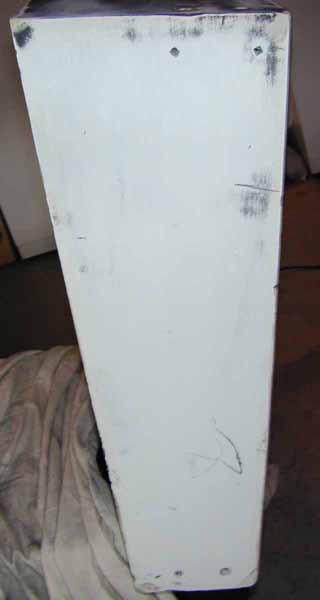
Here the decal has been completely removed. You can see the decal adhesive is still on the backbox.
The decal came off in pretty much one piece.
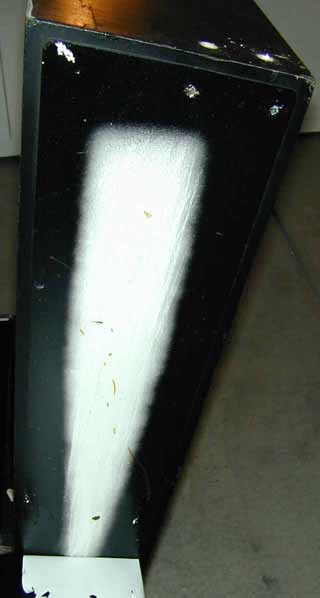
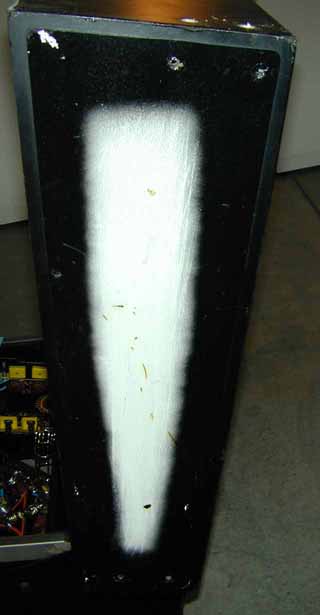
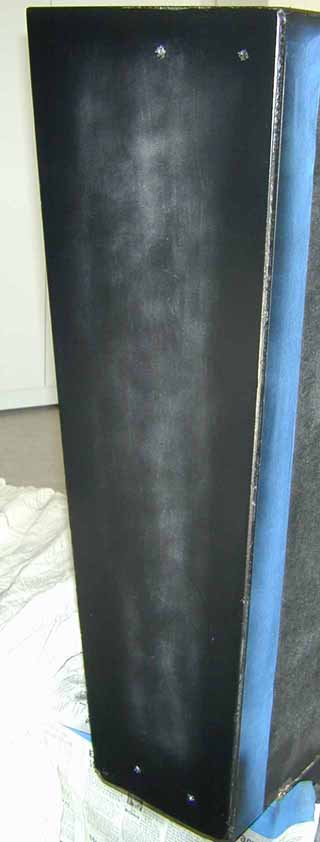
The remove the adhesive, I used a palm sander and 120 grit paper. The paper fills up fairly quickly so I used about 6 disks for each side. I also repaired any damage with wood filler. Once the adhesive was completely removed and all repairs were finished, I hand sanded using 220 grit paper.
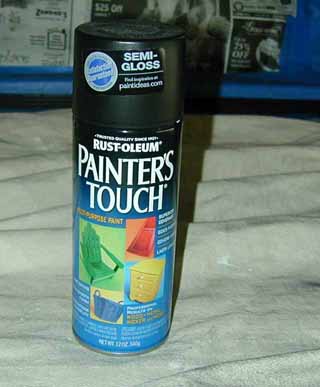
I used semi-gloss black paint. Here's the actual can I used.
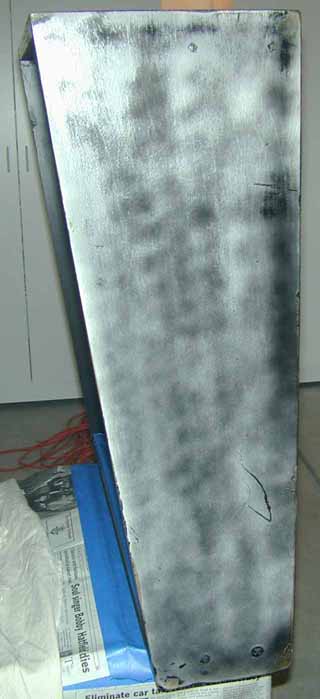
First, a very light coat is applied. Notice the rest of the game is completely masked off. The boards inside the backbox have also been masked off.
Then, another coat is added, concentrating on the edges.
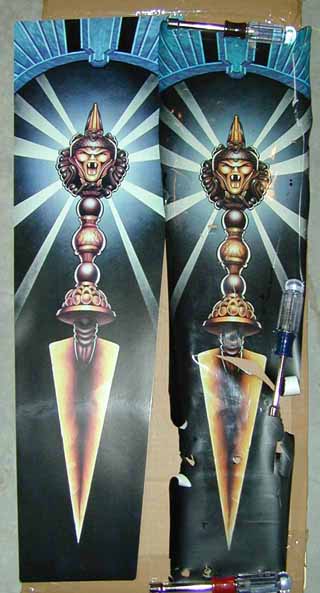
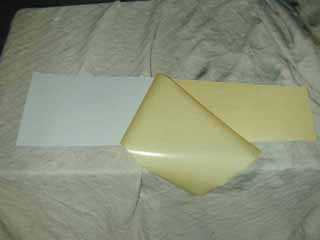
Here's the new and the old decals side by side. There's a little more saturation of gold on the original, but quality-wise they are identical.
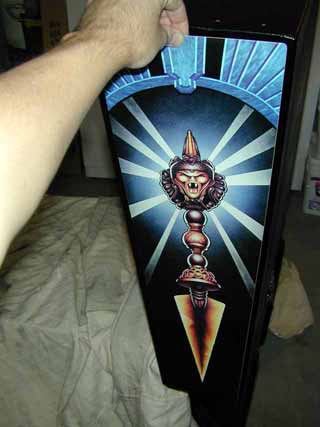
Once the backbox has been fully painted and dried, we are ready to apply the new decal. With the backing paper still in place, hold the new decal up to the side to get a general feel for placement.
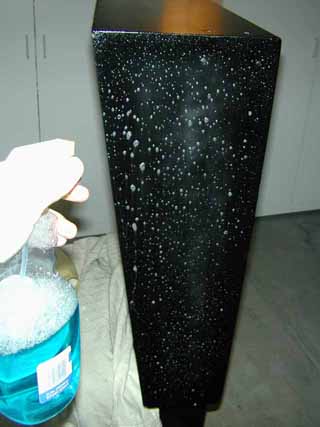
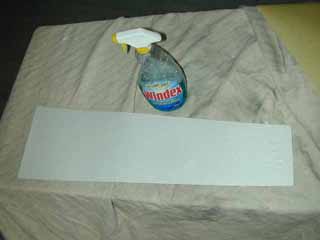
Wipe the backbox with a tack cloth to remove any dust or blow it off with an air compressor. Spray the backbox with a liberal amount of Windex. Make sure there are no dry spots.
Lay the decal face down on a soft surface and remove the paper backing.
Spray the back of the decal with a light coat of Windex.
Hold the decal at the top and bottom until it's approximately in position and then lay it on the backbox. Once laid down, quickly position it making sure the edging is equal on all sides.
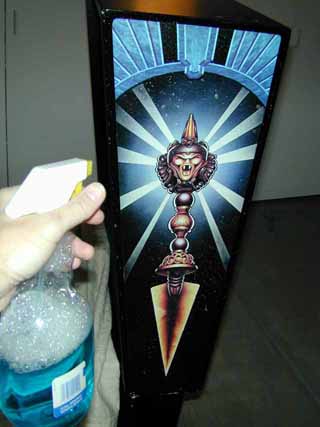
Spray the top of the decal with a light mist of Windex.
From the top to the decal, squeegee out the Windex. You should be able to do this in two longs passes - once on the left half and once on the right half.
Wipe the area with a soft clean cloth.
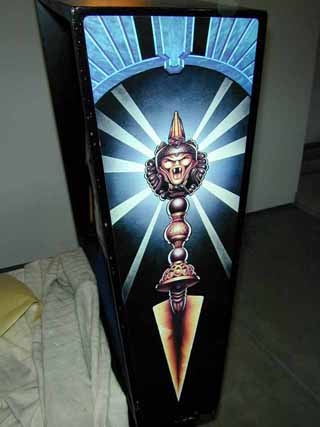
Finished. Looks as good as new!
One note here - I noticed immediately after application that the decal has some slight wrinkling around the edges, maybe 1/16". It appeared that the decal had absorbed some of the Windex. I'm not sure of the materials used for this decal, but it must have been on some sort of paper that was covered or coated. I did not experience this type of wrinkling on my Cactus Canyon decals, and I had left the Windex on those MUCH longer. After a few days drying, the wrinkling disappeared. I would recommend minimal use of Windex with these decals. |