|
|
Make Your Own Bony Flippers |
|
|
What To Look For When Buying A Machine
|
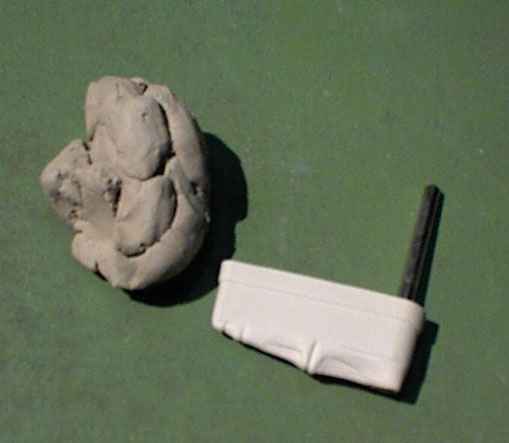
(This page reprinted courtesy of Leon. See his site for more great pinball tech info) The bone is on the top of the flipper, so if we can make a nice reproduction of this top part, all we need to do is glue it to a regular flipper bat. There aren't any special forces applied on this part except from the vibrations of the flipper, so we can just glue it with epoxy. A simple form can be made by pressing the model in a piece of clay. The only catch here is that you need to have an original bony flipper.... Below you can see a bony and regular flipper bat.
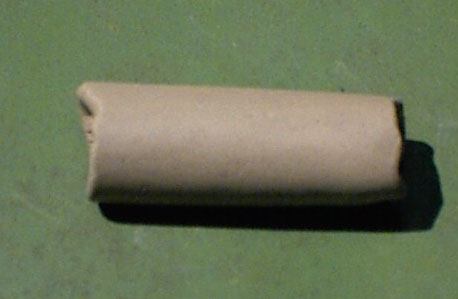
You need a model and some clay . Roll the clay until it's smooth, and a bit longer then the flipper and about 1 inch thick. Put it on something flat.
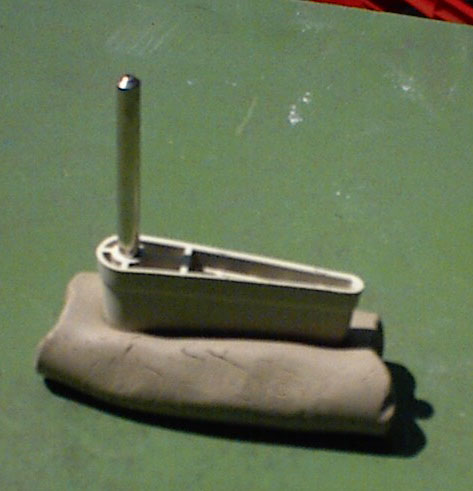
Push the top side of the bony flipper into this clay. Be very gentle and smooth. Only the part which represents the bone has to be in the clay.
Removing the flipper from the clay also has to happen very carefully. If you should mess up, just start over.
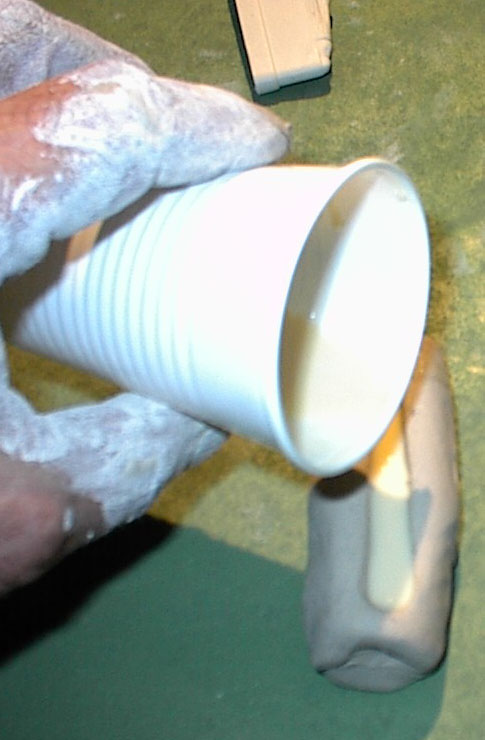
In the mold we've made we can put some epoxy. I use 2 component Polyurethane, which hardens in 15 minutes. When it's hard, remove the plastic from the clay by pushing it to the side. Don't pull at the plastic as it sticks too much to the clay and can break!
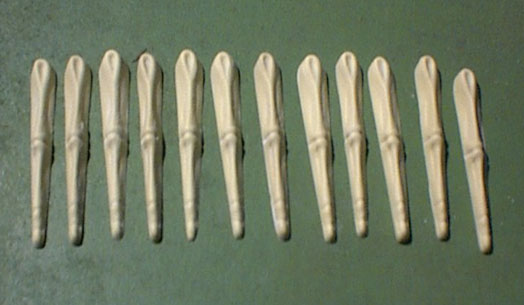
Once you've washed off the remaining clay, you've got a nice bone to glue onto a flipper bat. It can be useful to make the bottom side smooth with some sand paper.
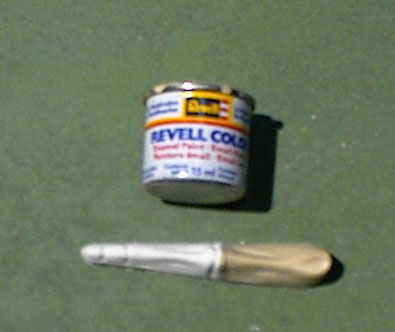
Because the plastic is too yellow, it's better to paint the part with model paint (like Revell number 5 matte ). The half painted part shows you the color difference..
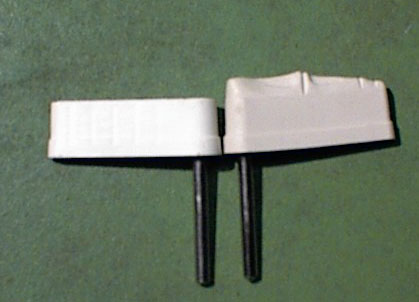
The original and home-made bony flipper next to each other, the painted part even looks nicer together with the color of the "Bony Beast"!! Right is home made.
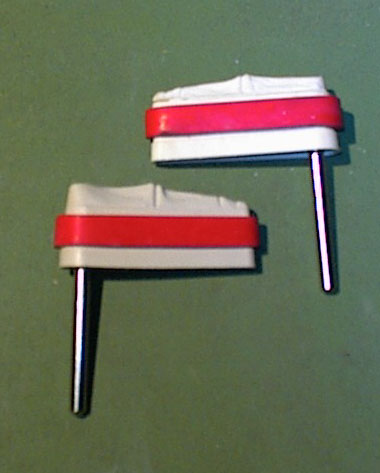
Mounted with the rubbers, it's ready for use! The upper is the home made version.
|

 .
.