Backbox
|
|
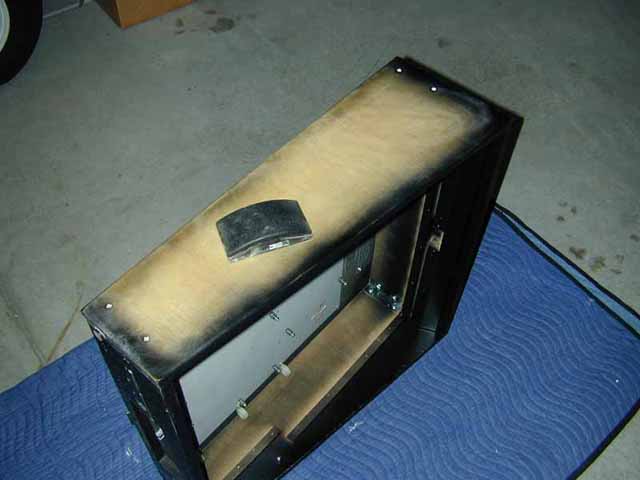
Below is how
the backbox looks before starting. As you can see, it had taken
a lot of abuse.
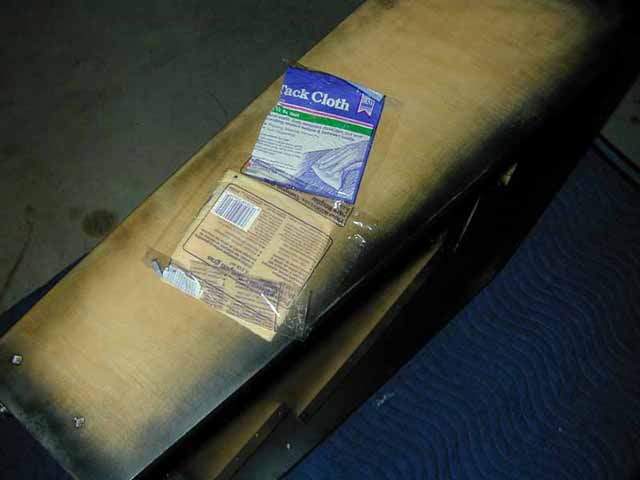
Below shows the backbox side after the following steps (see cabinet pages for further details) -
After sanding, a tack cloth is used to remove any stray bits of sawdust or dirt.
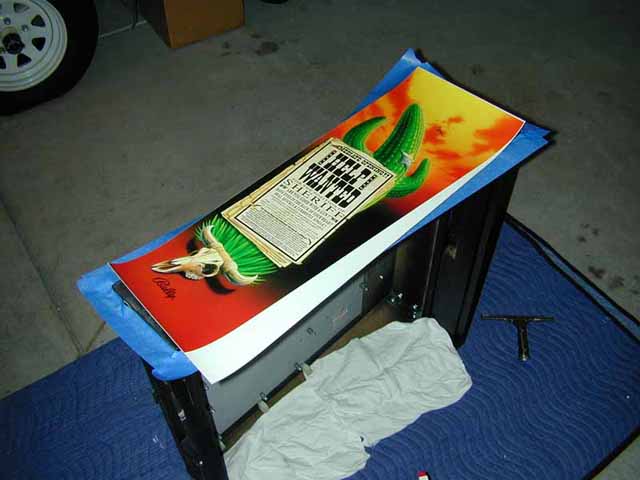
The decal is laid on the side with the backing paper still in place. This allows you to figure out the best way to align the decal. In this case, the top edge and rear edge were pre-cut. I would use those to properly align the decal to the backbox side.
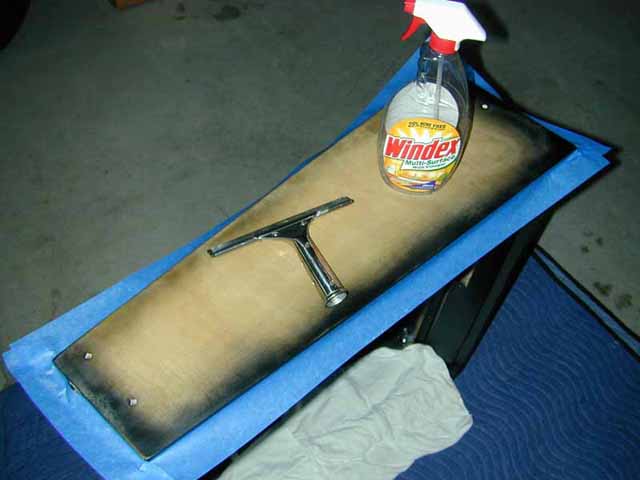
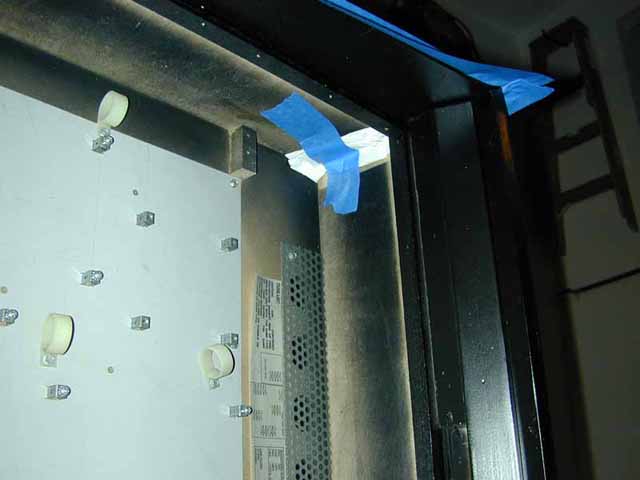
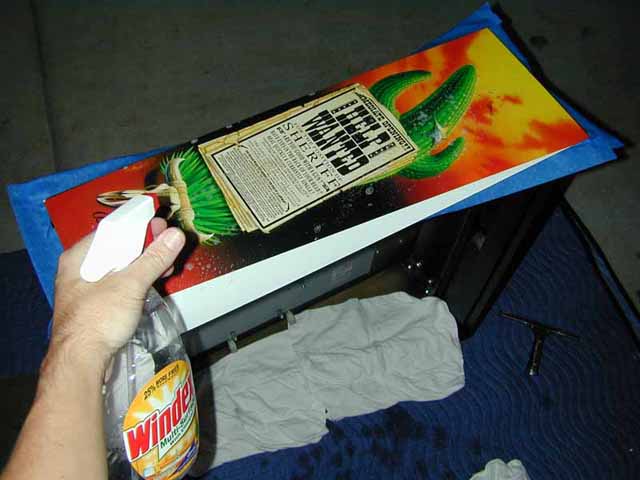
Here are the tools used - clear Windex and a medium sized rubber squeegee. I placed tape around the edges so that the Windex would fall away from the sides when I squeegee'd the decal.
I also taped tissues under the holes to catch any extra drips.
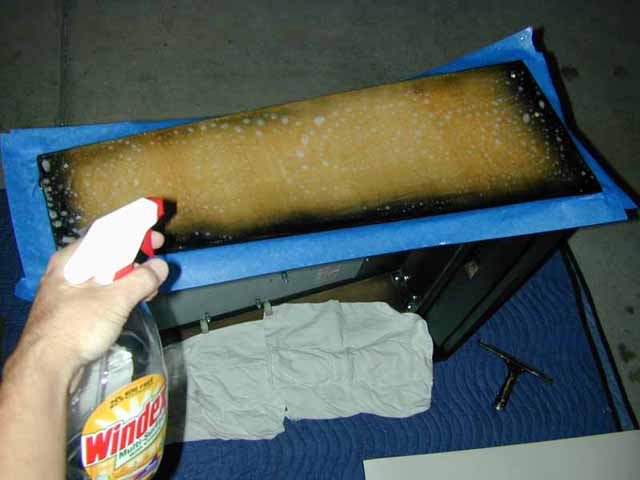
Apply a liberal amount of Windex to the area. There should be NO dry areas. Make sure it's nice and wet. Look at it from an angle to assure this.
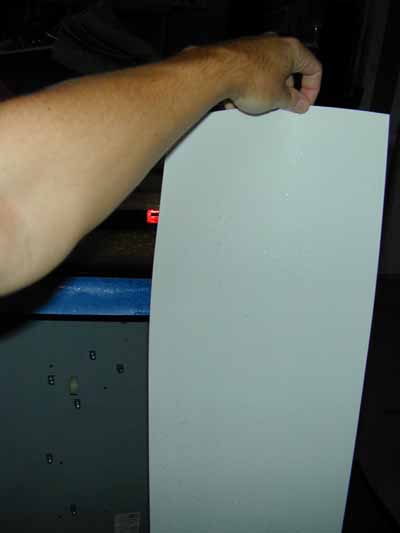
After removing the paper backing from the, spray the backside with more liberal amounts of Windex. Again, try to assure there are no dry spots.
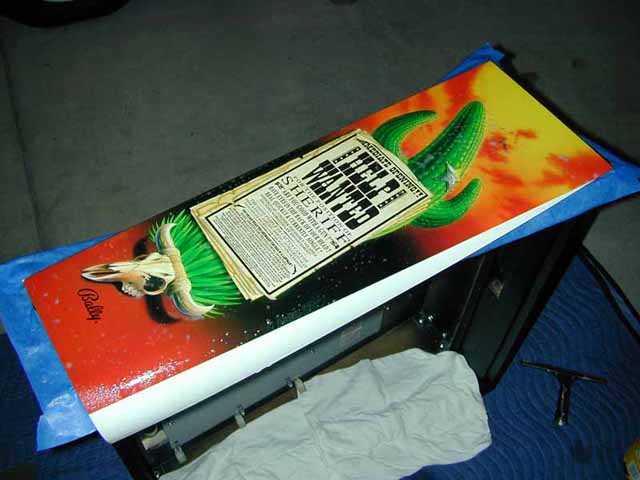
Lay the decal on the backbox. Immediately after laying it on, spray the top with MORE Windex. There's a good reason for this step. You'll see why below.
Here's what is should look like at this point. Since you've applied two layers of Windex between the decal and the backbox, you've got a few minutes to position the decal in the proper area. It should slide around fairly easily. I took 1-2 minutes to make sure it was in the right spot.
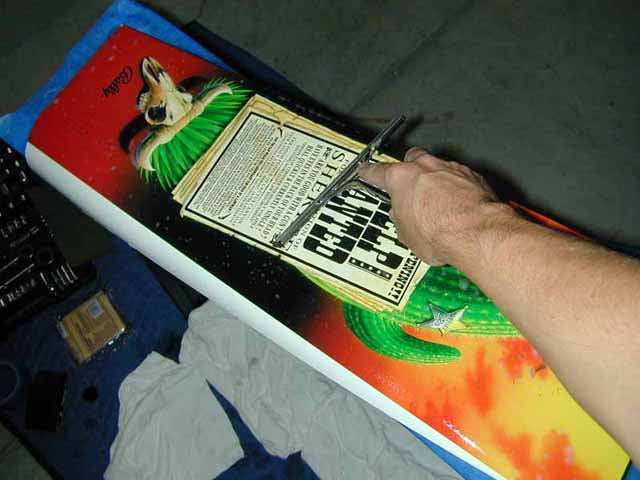
Once properly positioned, use the squeegee from the center outward. Since we applied Windex to the topside of the decal, the squeegee should slide easily over the surface of the decal. If the decal had been dry, the friction of the rubber squeegee might inadvertently move the decal.
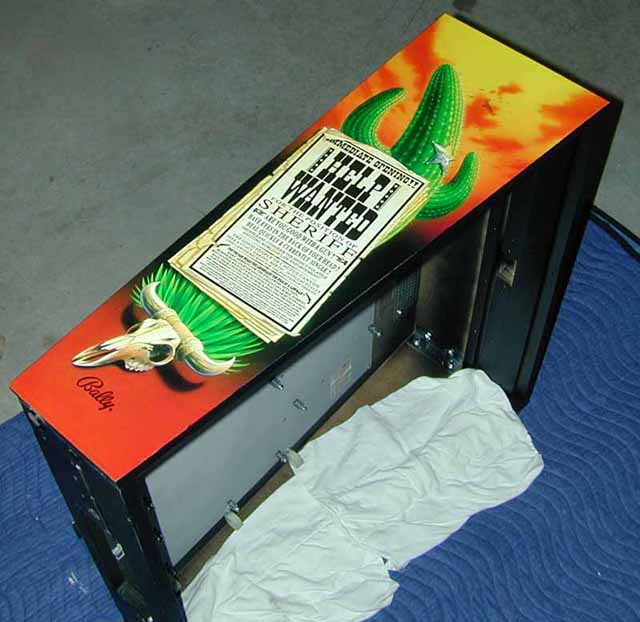
Once the decal has been completely squeegee'd, use a clean, soft cloth to wipe down the surface. Wipe in the same manner as when using the squeegee - from the center outward. Rub fairly gently so as not to move the decal.
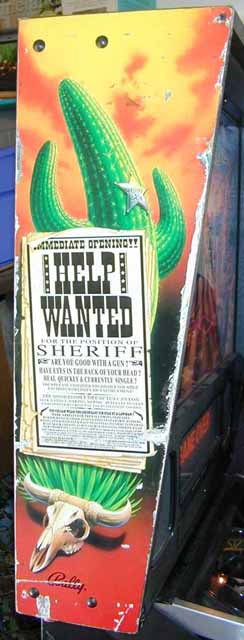
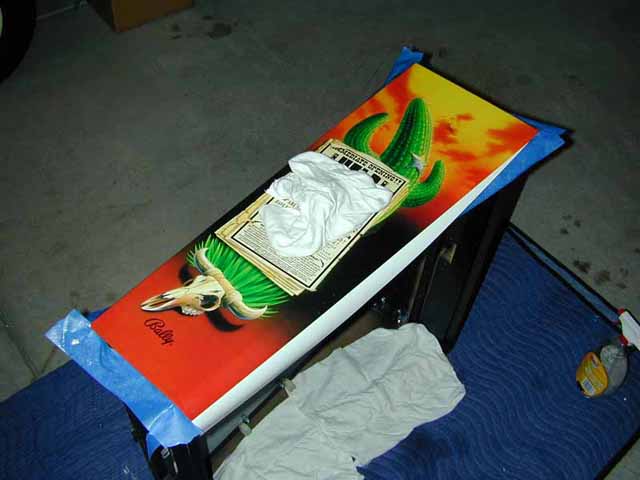
Once the decal has dried for 15 minutes or so, remove the edge tape (if used) and trim the edges with a NEW razor blade and straight edge. Don't wait too long to trim, as the excess decal hanging over the edge may slightly lift the decal. Once trimmed, use the cloth again to smooth down the edges of the decal - again, from the center outward. The finished product appears below.
|