-
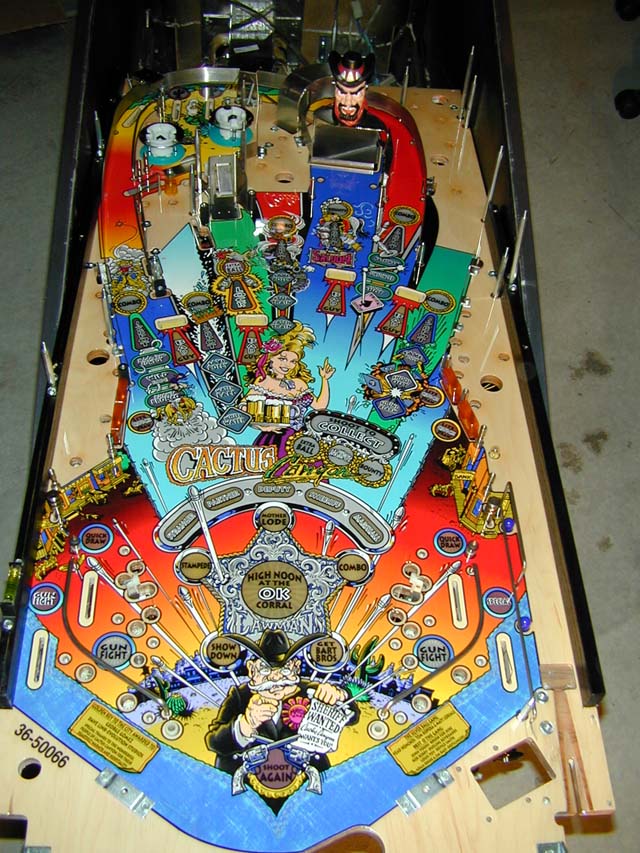
Take a digital picture of the part
BEFORE it is removed from the playfield.
-
Once the piece is removed, write
down what was removed, how many and what kind of
screws/bolts/nuts/washers were used. If a connector is
diconnected to remove the piece, label BOTH sides of the connector
with a letter and make a note of the letter used.
-
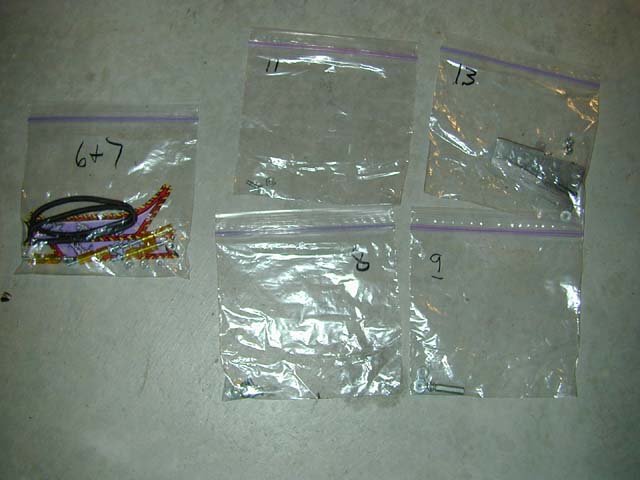
Place the items removed into a
Ziploc bag and number the bag with a Sharpie to correspond with
the number that was written down in the previous step. If
the piece is too big (like a ramp), place it in a large plastic
storage box and place it's screws/bolts into a bag.
You should end up with lots of bags
that look like this ...
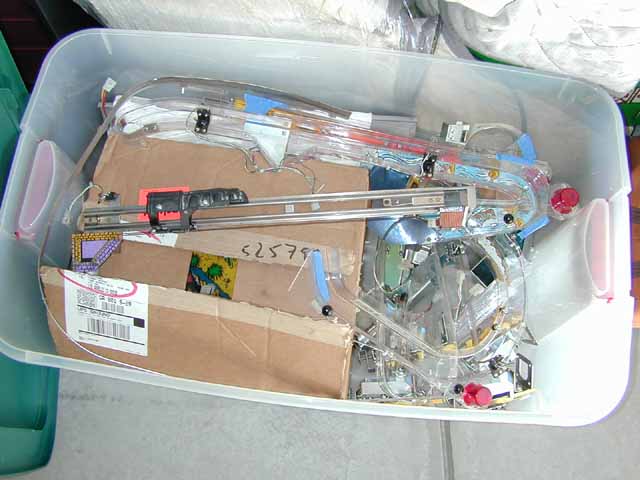
... and a parts box that looks like
this. I store all of the plastic bags inside a cardboard
box. The entire contents of the playfield is stored
neatly in one container, with the wiring harness to be removed
later. This is great if the playfield is being sent off to get
clearcoated as you won't have to worry about losing parts while it's
gone.
Once the top of the playfield has
been stripped, the wiring harness from the playfield into the backbox
must be disconnected. There are two looms of wire that go into
the backbox - one from the playfield and one from the cabinet.
Identify which is from the playfield. As you remove the
connectors from the circuit boards, use a sharpie and write the number
of the board connector (like 101,203, 906, etc) on the side of the
wire connector.
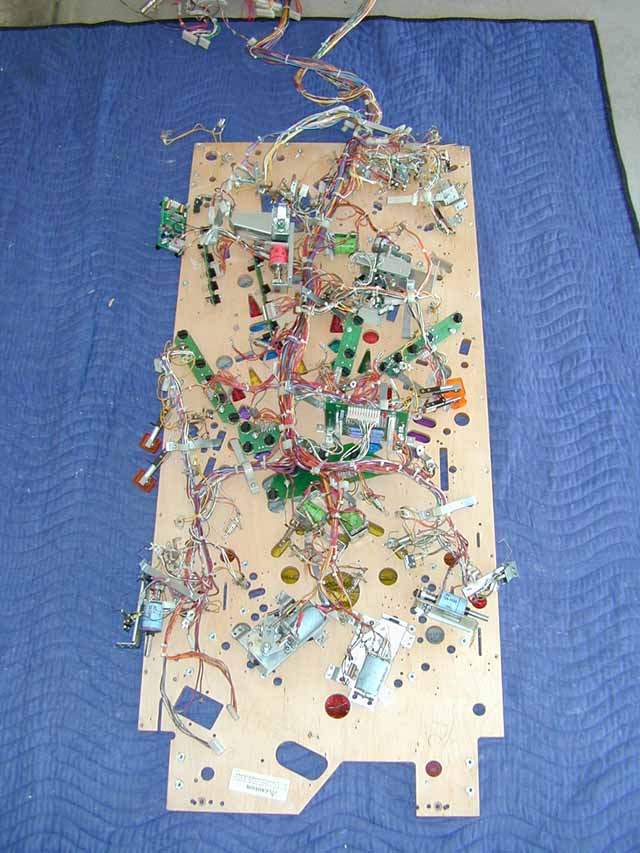
After the entire loom has been
disconnected from the backbox, remove the playfield from the cabinet
and place it face down on a packing blanket or towels. Remove
any parts NOT connected to the wiring harness (playfield slides),
continuing to use the same list procedure from the top of the
playfield.
Everything should now be removed
expect for the wiring harness. There will be three type of screws
you will remove -
-
Machine screws, which are used
for larger assemblies.
-
Silver hex head wood screws,
used on a majority of the parts.
-
Gold hex head wood screws, used
mostly on lamp sockets.
Note that the gold screws are SHORTER
than the silver ones. Do NOT use the wrong length screw when
reassembling the harness or the screw WILL poke through the top of the
playfield. If you are unsure of what screws will go where, mark
EVERY screw hole as you remove the screw using a different colored
marker for each type.
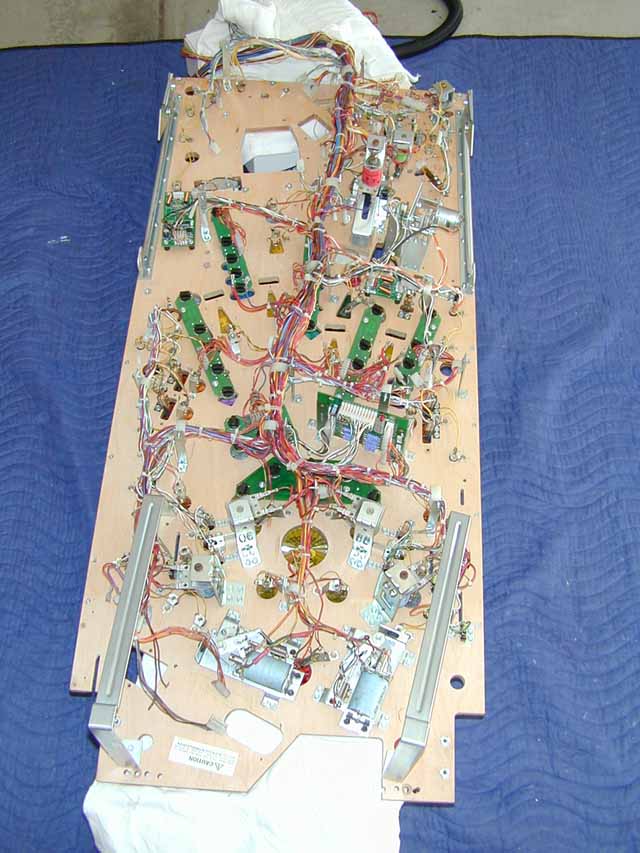
With all the screws removed, the
harness should still be sitting loose on the back of the playfield.
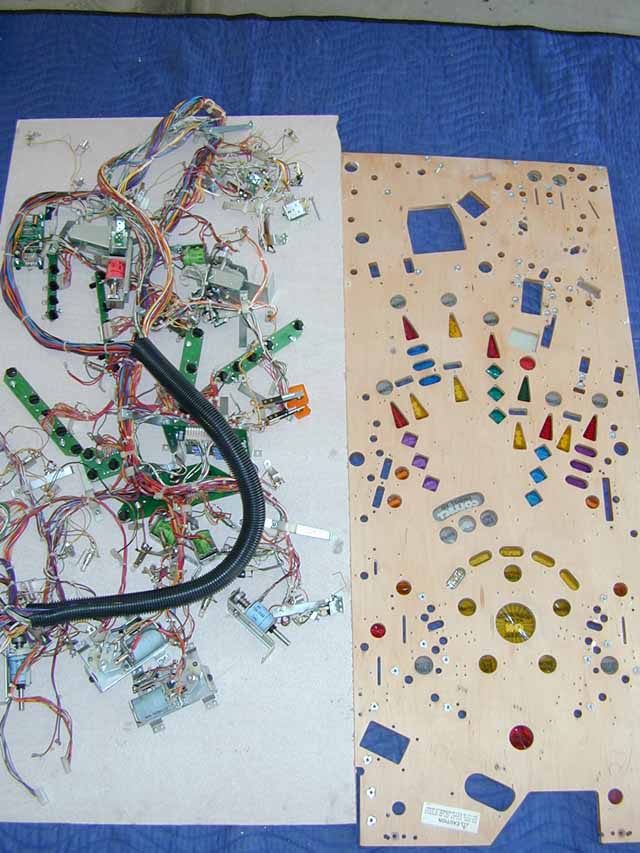
Using a thin board (or thick
cardboard) cut slightly larger than the playfield itself, begin
sliding it under the harness, lifting up parts and placing them onto
the board. Don't worry about keeping everything in its exact
place. It will be fairly obvious where everything goes when you
put the harness back onto the playfield.

When you are done, the harness should
be completely on the board. You now only need to remove the few
items left on the playfield, like pop bumper studs. At this
point, the playfield may either be swapped with a new one or the
existing one may be touched up and/or clearcoated.
While the playfield is being
swapped/repaired, this is a good time to do things like flipper
rebuilds and target/switch replacement. Also, replace all the
bulbs at this time. It's much easier to work on the harness when
it in this orientation instead of back in the cabinet. You'll
have a few week if you send the playfield off to be clearcoated, so
use the time wisely.
After the playfield has been
repaired/swapped, reverse the process above. Slide the harness
off the board and back onto the playfield. Screw everything back
onto the playfield, ensuring you are using the correct LENGTH screw
for the piece you are installing. It will start taking shape as
you near the end of this step.
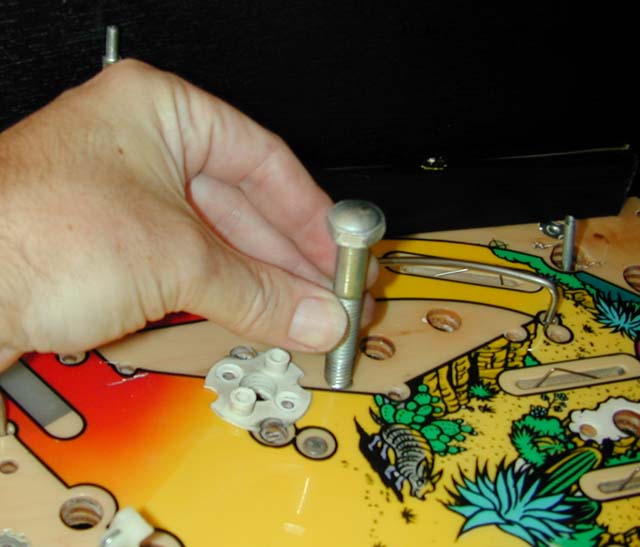
When installing the pop bumper studs
back into the playfield, use an old leg bolt on the head of the stud
as you hammer it back into the playfield. You'll be less likely
to damage the playfield with an errant hammer hit. And if you
clearcoated the playfield, the last thing you'd want to do is smack it
with a hammer.
After the playfield is placed back
into the cabinet for re-assembly, just go back up the list you made
during disassembly. It should go together fairly easily as
everything is numbered. Refer to the digital pictures you took
for each step should you have a question on how a part is oriented.