Replacing Side Rails
|
|
I didn't take
any picture of the actual side rail removal. There are certain
things to watch for when removing side rails. The adhesive tape is
VERY strong and could damage your artwork, especially if it's a decal
game like Cactus Canyon or Monster Bash. Some people recommend
scoring the decal along the bottom edge of the rail just in case the
rail lifts the decal when removed.
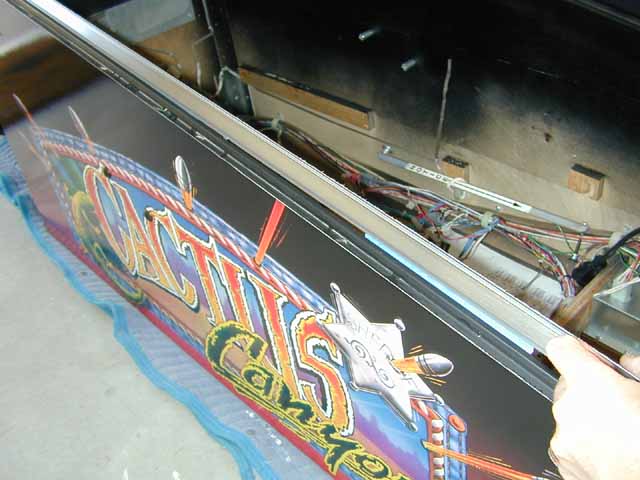
The key to removing the rails is to go SLOWLY. Don't use TOO much force or you WILL damage your cabinet. Once you have removed the rails, there may be some tape and residue left behind. Remove any remnants using Goo Gone or Ronsonol Lighter Fluid (Naptha - my preference). Make sure it's nice and clean BEFORE you install the new rails. When you are ready to install the new rails, place the rail on the edge and once aligned, place some tape along the top of the rail down into the inside of the cabinet as shown. This will act as a hinge.
When aligning the rail initially, place the front bolt temporarily into the cabinet. This will ensure that rail is in the proper spot. Remove the bolt before the next step.
Once you have aligned and taped the rail, flip the rail up using the tape as a hinge. With the rail flipped up, remove the protective covering on the tape on the inside of the rail. Once removed, slowly lower the rail back down onto the cabinet. DO NOT PRESS DOWN ONTO THE CABINET YET.
Insert the front bolt through the rail and into the cabinet. Once in place, firmly press down on the TOP of the rail and while pressing down, press the side of the rail into the cabinet. Make sure the entire length of the rail is firmly pressed into the cabinet. When you are finished, you can removed the tape "hinge".
|